
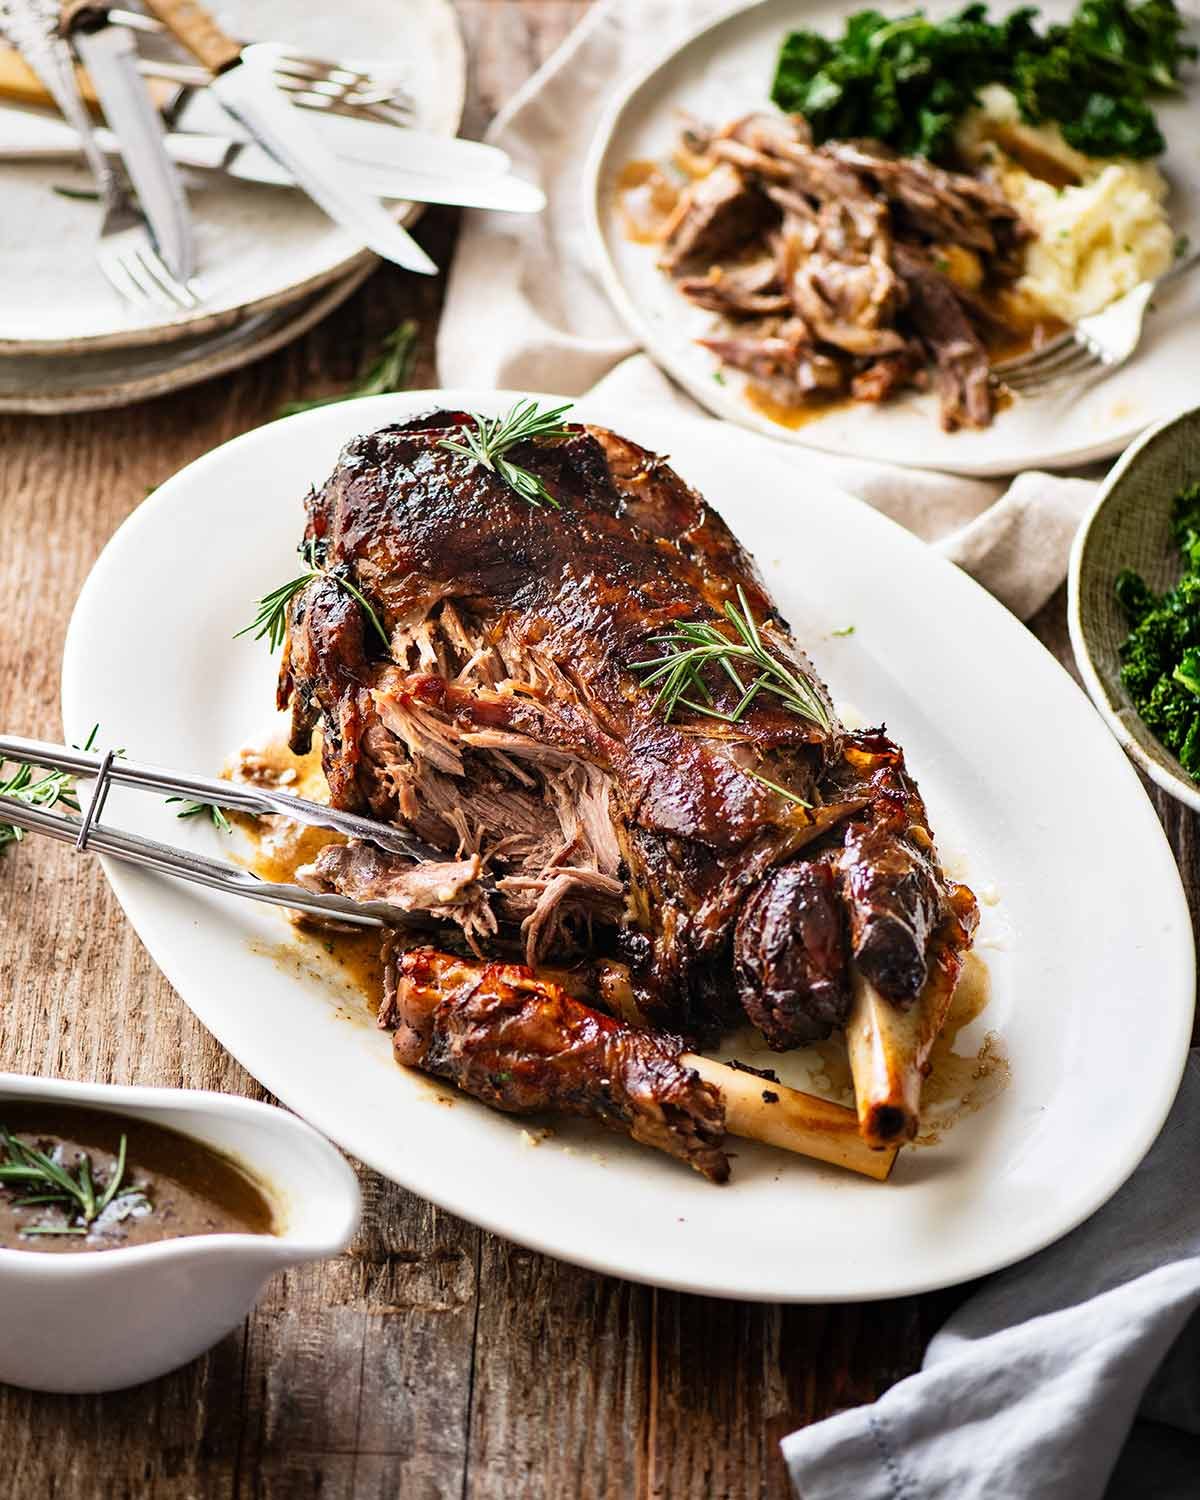
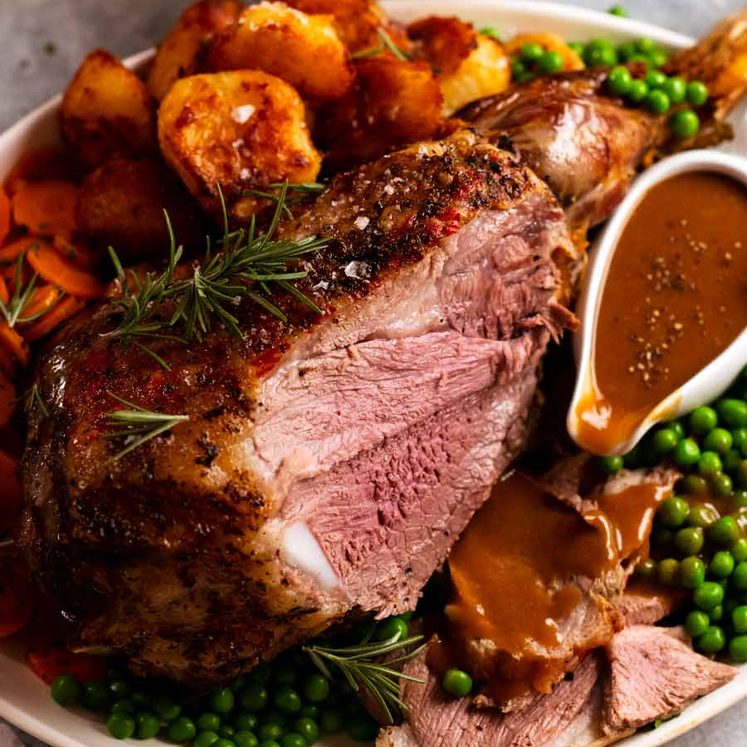
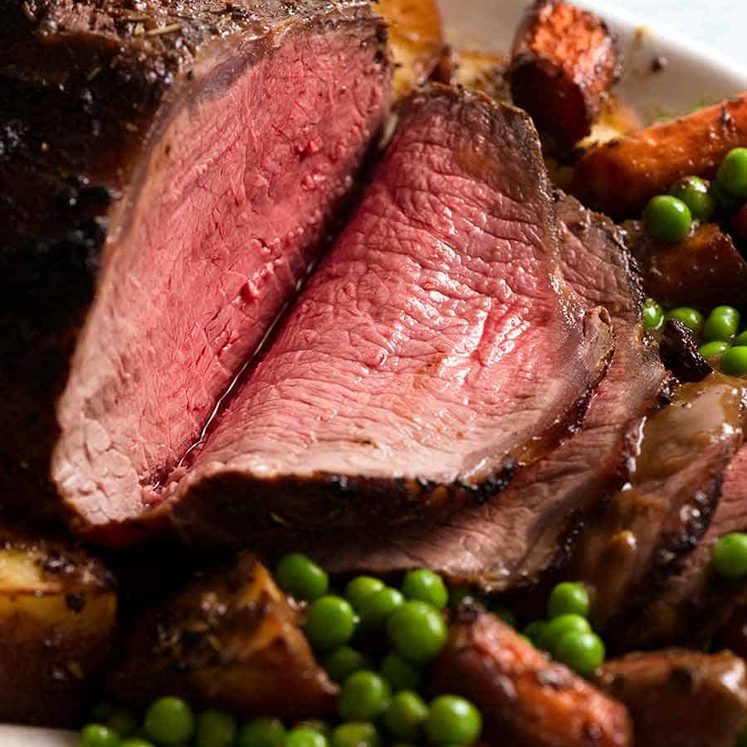
This Slow Roast Leg of Lamb is going to take your next Sunday roast to a whole new level! It’s ULTRA EASY and very forgiving. It does take patience as it takes 4 1/2 hours in the oven, but you’ll be rewarded with lamb leg that’s fall-apart tender with an incredible rosemary garlic infused gravy.
After more roast lamb ideas? Browse all my roast lamb recipes or take the Roast Lamb Matchmaker here which will lead you to your perfect recipe!

Slow Roast Leg of Lamb
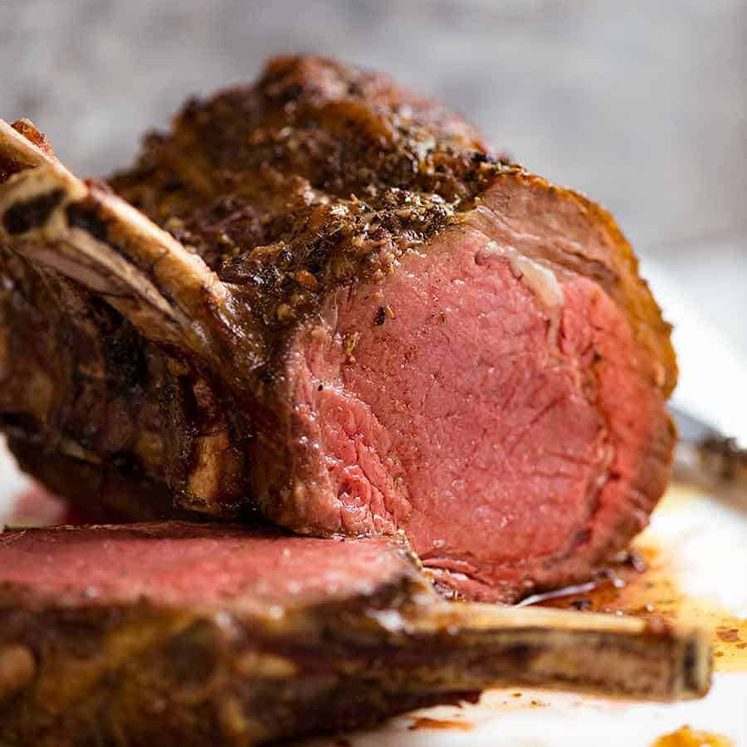
I’ve said it before and I’ll say it again – lamb leg should either be roasted exactly such that it’s blushing pink inside – either whole or butterflied – or long and slow so it’s ultra tender.
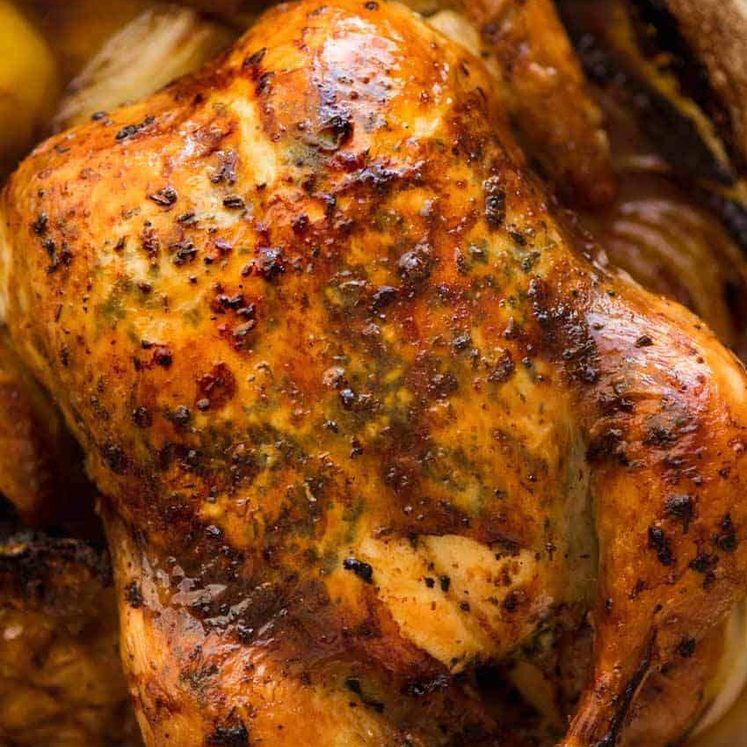
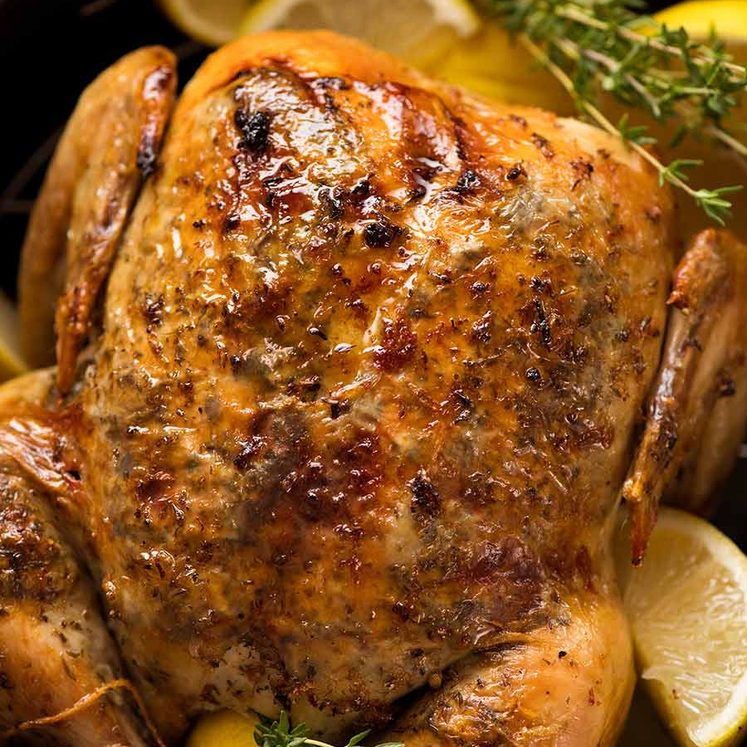
Blushing pink = meat thermometer or holding-your-breath-cross-your-fingers for that moment when you carve, hoping for juicy lamb rather than grey and dry. If that’s what you’re after, use this classic Whole Roast Lamb Leg recipe or my Greek Butterflied Leg of Lamb for a quicker boneless version – and yes, you really need a meat thermometer.
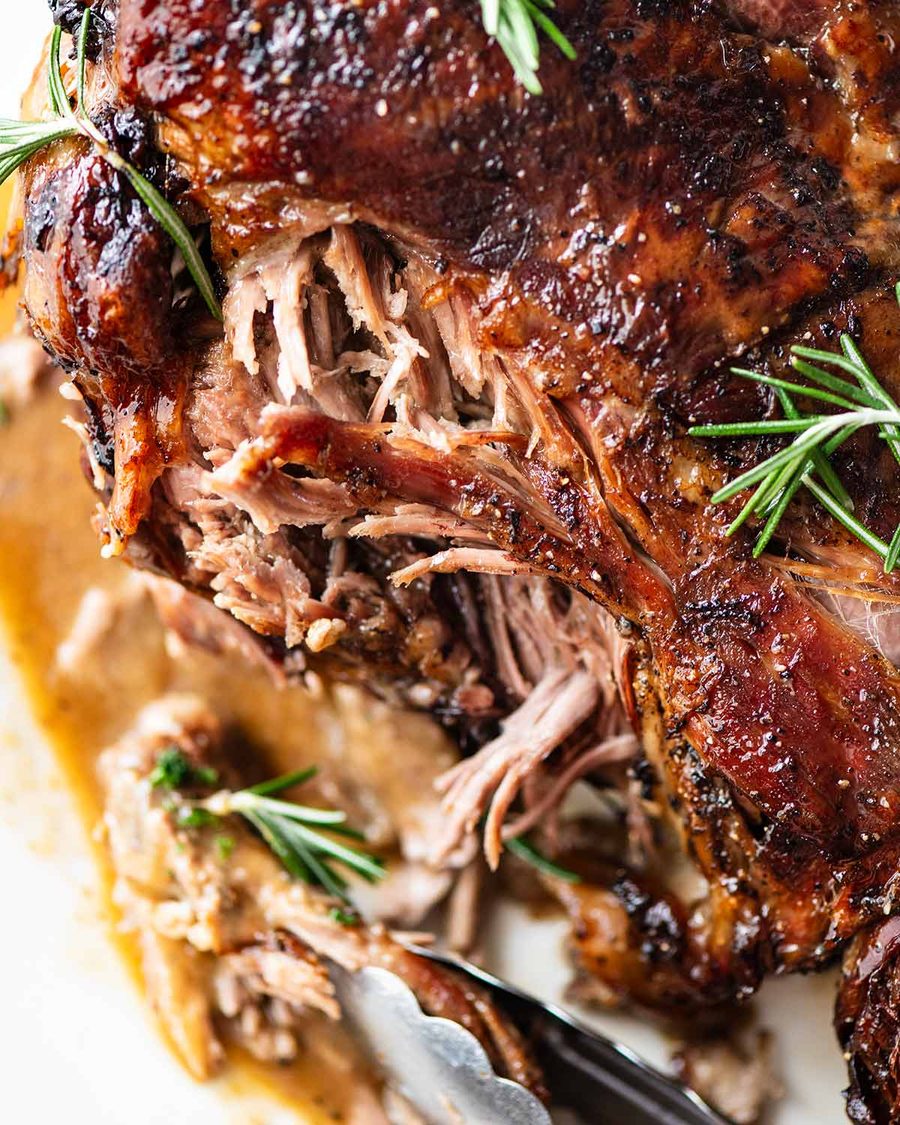
This recipe is for the other way – long and slow, the sort of meat you pull off the bone with tongs. It’s much easier, less stressful, and you don’t need a thermometer.
And it’s Amazing. With a capital A!

💕 Finding your perfect Roast Lamb recipe! 💕
Not that I want to deter you from using this recipe, but just so you know, I have shared quite a few roast lamb recipes over the years. Because – lamb! How I love thee!
I know it can be hard to choose with so many options so I made a fun (but genuinely useful) Roast Lamb Matchmaker to guide you based on effort level, budget, make-ahead needs, and even cuisines. Because did you know a roasted lamb shoulder reheats 100% perfectly whereas lamb leg is leaner so best served freshly made, even if it’s slow-cooked? 🙂
Take the Roast Lamb Matchmaker here to find your perfect lamb recipe!
How to make a Slow Roasted Leg of Lamb
All the lamb needs is a sprinkle of salt and pepper, drizzle of olive oil, then beef stock/broth and water in the pan which keeps everything all nice and moist + makes pan juices for gravy, cover then slow roast for 5 hours until tender and fall apart.
For an incredible hands-off version of this slow roast leg of lamb, try the Slow Cooker Roast Lamb!

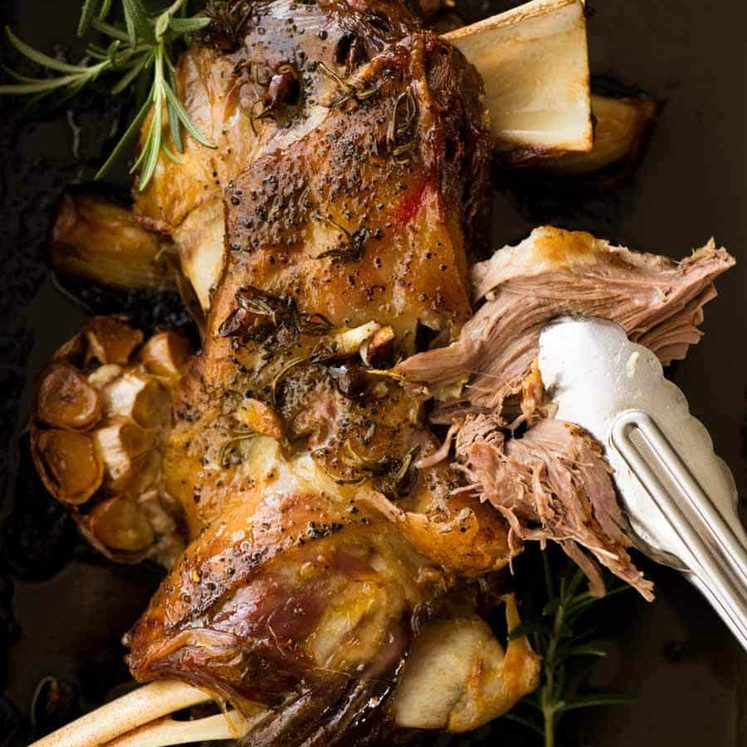
Roasting bed – Put garlic, onion and rosemary in the roasting pan. This is the bed on which the lamb is roasted and it serves three purposes:
1) to keep the lamb elevated out of the pan juices for even cooking;
2) flavour the flesh that’s in contact with it; and
3) flavours the pan juices which is used to make the gravy.Season – Sprinkle the lamb leg all over with salt and pepper. In this photo, the lamb leg is the right side up which is covered with a thin layer of fat.

Upside down – Turn the lamb upside down and pour the liquids around it. Lamb leg is quite lean so it benefits from slow-cooking submerged in liquid which helps keep the meat moist. If you roast it like a regular lamb leg (right side up, exposes, no foil cover), the meat would end up terribly dry.
Drizzle the surface with oil (just the exposed surface, no need to turn the lamb over).

Slow roast – Roast for 4 1/2 hours at 170°C/325°F (150°C fan-forced) or until the meat on the underside that was submerged in the liquids can be easily pried apart using two forks.
Brown – Turn the lamb over then roast uncovered for 20 to 30 minutes or until it’s nicely browned all over.
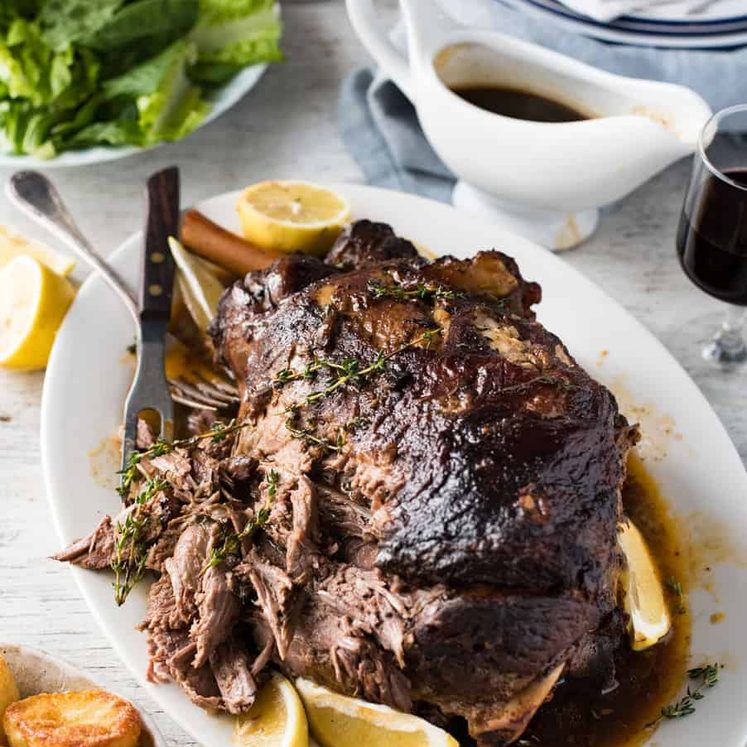
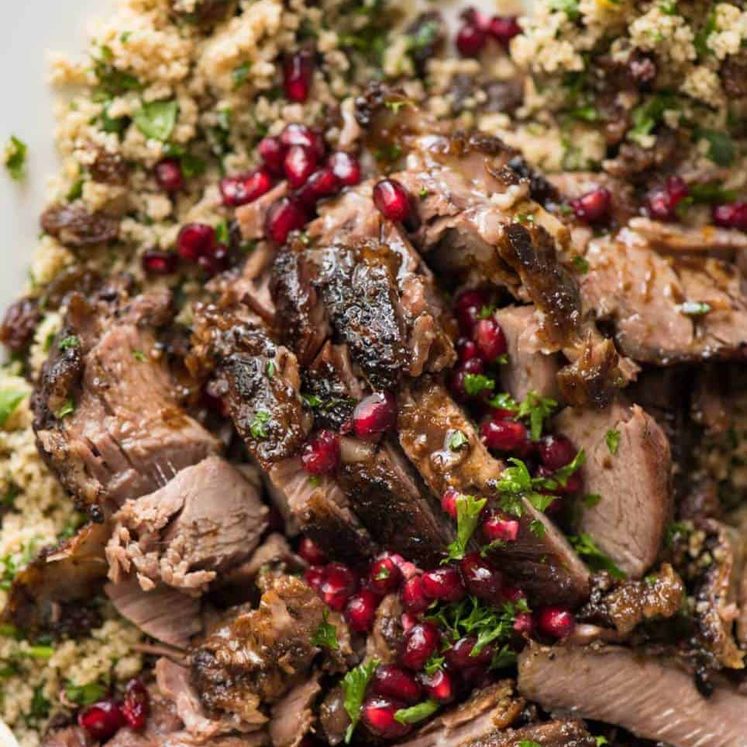
The lamb is now ready! But it’s important to rest it for at least 15 minutes before serving which will allow the juices in the meat to redistribute throughout the meat fibres (makes the meat juicier). So transfer it to a platter and loosely cover with foil to rest while you make the gravy.
💡 USEFUL TO KNOW
The lamb will stay warm for 1 1/2 hours so you don’t need to rush the gravy, or worry about rushing to serve it freshly made.
Large roasts usually rest longer (30+ minutes), but because this one is slow-cooked to fall-apart tenderness rather than carved, it needs much less resting time.
How to make the gravy for slow-roasted meat
A great gravy comes down to the flavour in the pan juices and this one knocks it out of the park! All the tasty lamb roasting juices plus the garlic, onion and rosemary is what makes this gravy so good. Here’s how to make it – it’s a cinch!

Heat – Set the pan on the stove with all the liquid that it’s in it, including the garlic and onion which will look like a mushy sludge by now but adds a stack of great flavour into our gravy. Turn the stove on to heat the pan juices then scatter the flour over and mix it in.
Whisk in water then simmer until it becomes a gravy consistency.
Strain into a bowl, pressing all the tasty sludge out of the garlic and onion. (I really need to think of a better word that “sludge” 😆)
Pour into a gravy jug and it’s ready to use!
💡 USEFUL TO KNOW
Leftover gravy keeps in the fridge for 4 days or freezer for 3 months. Use for sausages, peas, chicken, or dress up your mash!
To make it gluten free, just skip the flour and use a cornflour slurry instead. Directions in the recipe card.
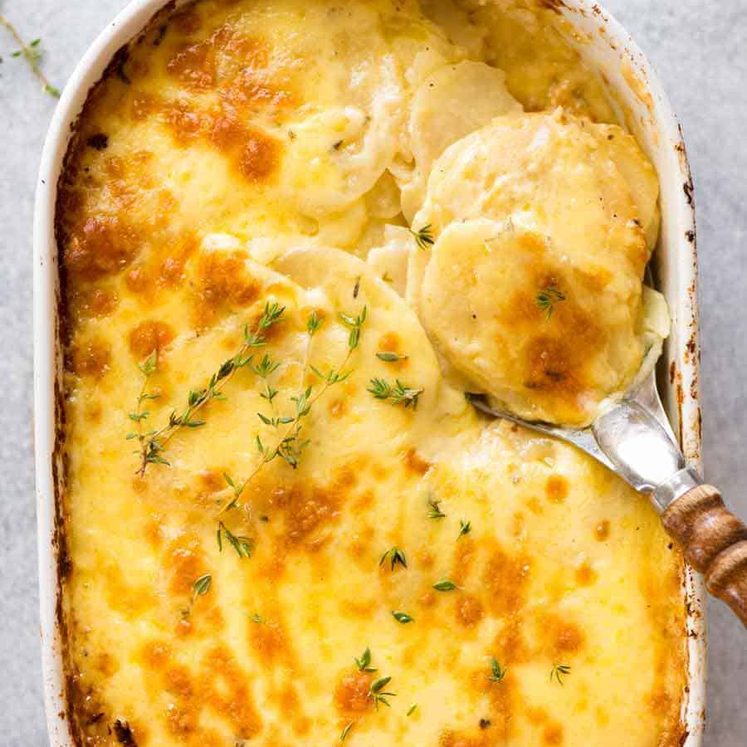
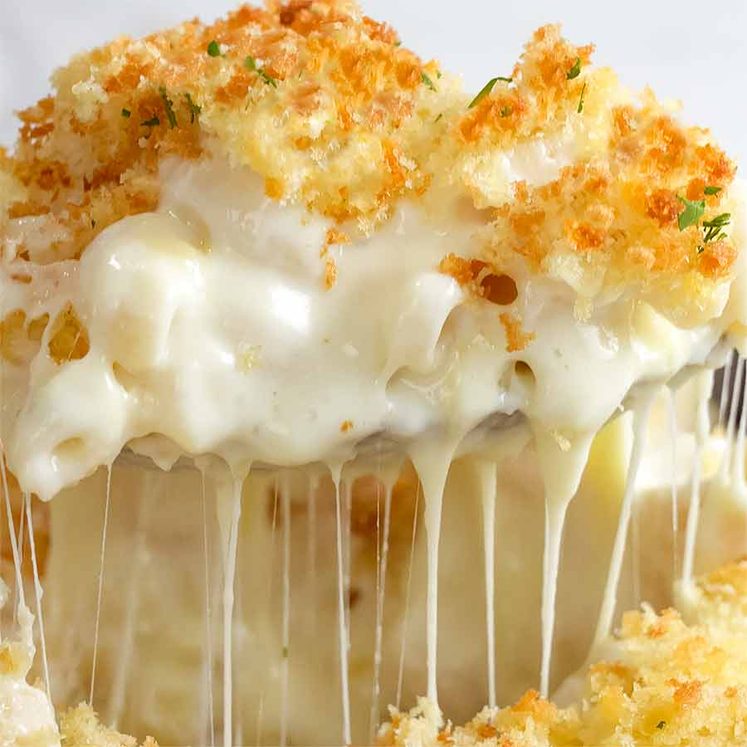
Sides to serve with roast lamb
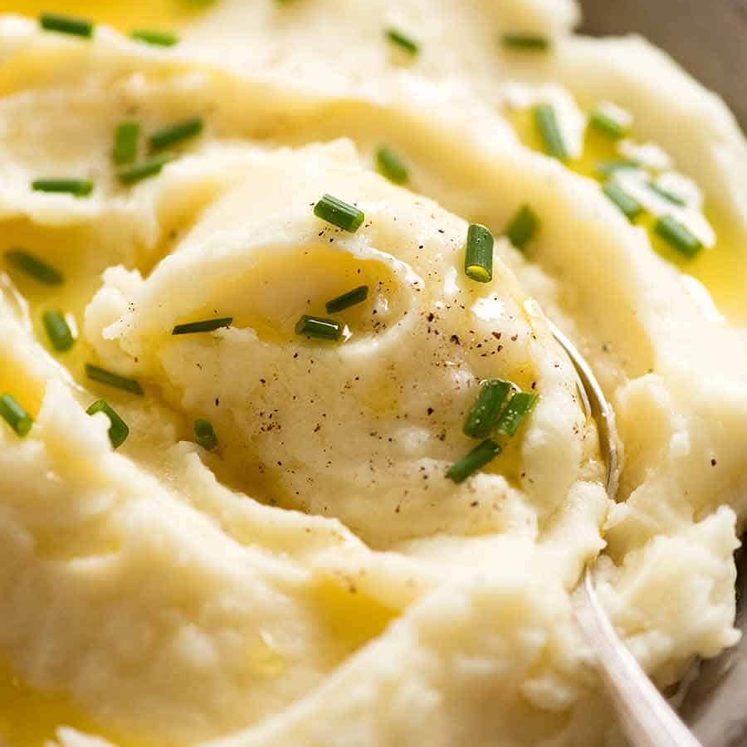
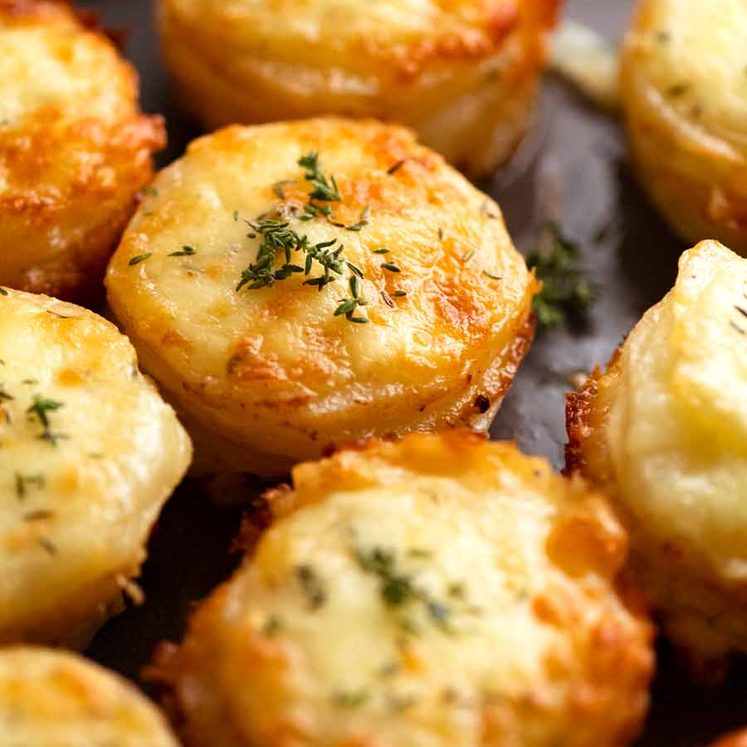
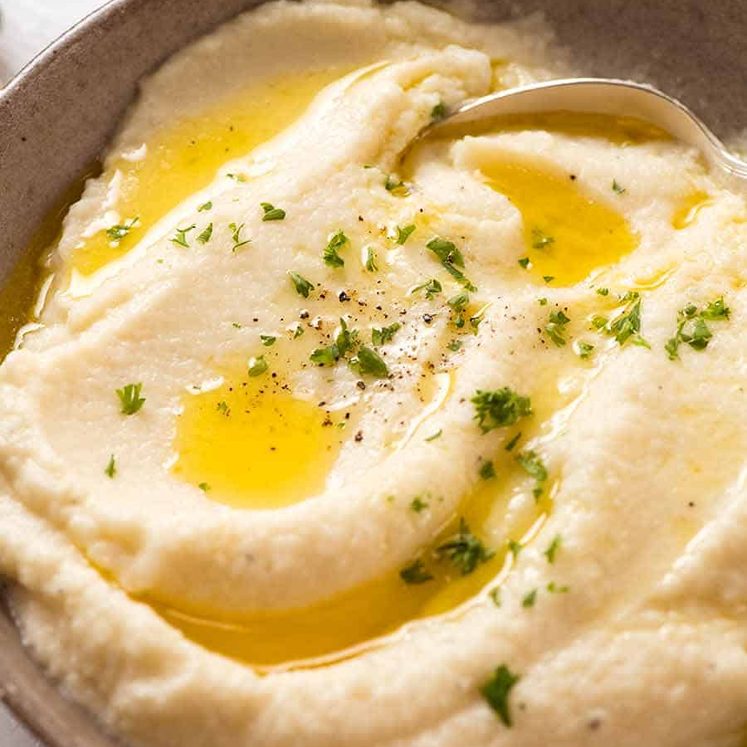
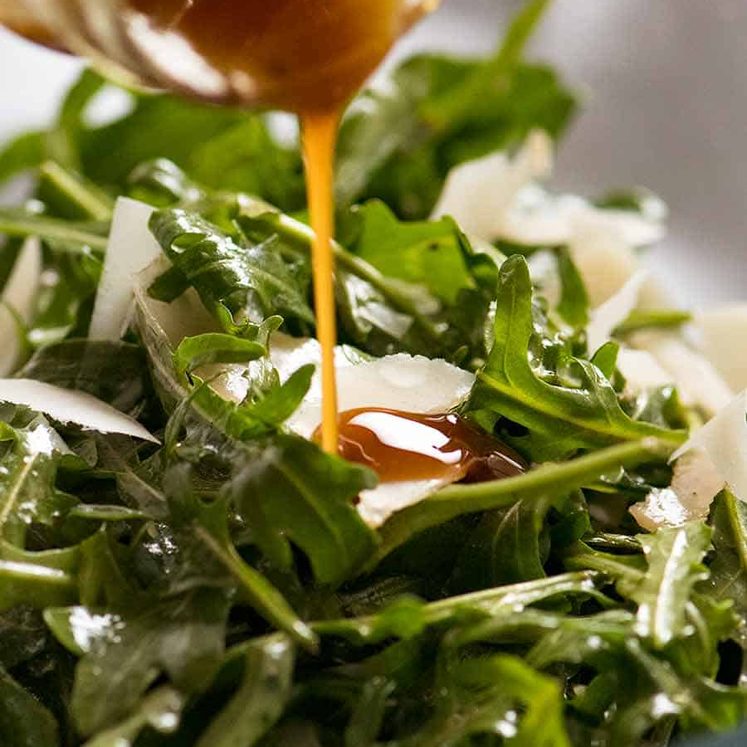
Complete your meal! Here are a few suggestions for sides that go really well with roast lamb:


I promised this was easy, and I meant it. It’s forgiving because if the meat’s not tender enough, you can just stick it back in the oven until it is – and you can cook for even an hour beyond necessary and it’s still going to be juicy.
If the gravy gets too thick, no dramas, just add a splash of water. If the gravy is lumpy, no worries, because in this recipe, it’s strained.
In short – it’s pretty hard to stuff up. If you’re a roast lamb first-timer, just give yourself a couple of extra hours because this lamb reheats great in the microwave or oven, as does the gravy.
Sunday night roast is never going to be the same again! – Nagi x
Just before you go!
Saturday 11 April 2020 – That you are here, looking at this roast lamb recipe for Easter 2020 fills my heart with happiness because it says that you are in some way able to hold onto Easter traditions, despite being stuck at home and unable to celebrate with extended family.
But for many healthcare workers around the world, including my hometown of Sydney, they will be working too hard to celebrate Easter. These brave men and women who are literally risking their lives to save ours.
I feel morally obliged to do something, so I am running a program where you can buy a meal from a local business for our overworked Frontliners. Too exhausted to cook, many are turning to fast food and those who try to cook are faced with empty supermarket shelves.
If you would like to Shout A Meal for a Sydney Frontliner to express your thanks, please click here for my fundraiser and here is more information about my program “Shout A Meal”.
Thank you for reading, and Happy Easter! – Nagi x
Watch how to make it
Hungry for more? Subscribe to my newsletter and follow along on Facebook, Pinterest and Instagram for all of the latest updates.

Slow Roast Leg of Lamb
Ingredients
- 2.25 kg / 4.5 lb leg of lamb , bone in (or shoulder) (Note 1)
- 1 1/2 tsp cooking salt / kosher salt (double for flakes)
- 1/2 tsp black pepper
- 1 1/2 tbsp olive oil
- 1 whole garlic head , unpeeled, cut in half horizontally
- 1 onion , quartered (unpeeled is fine)
- 2 rosemary sprigs (2 = whisper of rosemary flavour, 4 sprigs = stronger flavour)
- 3 cups beef stock/broth , low sodium (or homemade)
- 2 cups water
Gravy:
- 4 tbsp plain flour (all-purpose flour)
- 1 cup water
- Salt and pepper , to taste
Instructions
ABBREVIATED
- Season leg with salt and pepper, place upside down on garlic, onion and rosemary. Pour liquids in, drizzle with oil, cover with foil. Roast 4 1/2 hours at 170°C/335°F (150°C fan) until meat is pull-apart tender. Flip, return to oven 20 – 30 minutes at 200°C/390°F (180° fan) until well browned. Make gravy while resting.
FULL RECIPE
- Preheat oven to 170°C/335°F (150°C fan-forced).
- Place garlic, onion and rosemary in a metal roasting pan.
- Season lamb: Place lamb leg right side up in the pan. (Note 2) Sprinkle the surface with half the salt and pepper and rub it in.
- Turn lamb over and place it so it mostly sits on the garlic and onion. Sprinkle with remaining salt and pepper, rub it in. (Video helpful here)
- Add liquids and cover: Drizzle lamb with olive oil. Pour broth and water around the lamb – it won't cover it, that's ok, the lamb sinks into it. Cover with foil (don't use a lid, you want a bit of liquid to steam out).
- Slow roast: Place in the oven and roast for 4 1/2 hours. (See Notes for roasting time table)
- Check meat: Remove from the oven, remove foil. Turn lamb over. Check it to ensure the meat is tender enough to pry a bit off easily with a fork. If not, return, covered, to oven.
- Brown lamb: Return uncovered lamb to the oven and roast for a further 40 minutes or until well browned all over. (Don't increase the temperature as then it doesn't brown as evenly)
- Rest: Remove lamb, spoon over pan juices generously. Transfer to serving platter, cover loosely with foil while you make the gravy (stays warm for 1 – 1 1/2 hours).
Gravy:
- Skim fat: Use a large spoon to skim off and discard some of the fat from the surface of the liquid.
- Add flour: Place pan on the stove on medium high. When the liquid bubbles, add flour. Use a whisk to mix it in – this may take a few minutes as the liquid reduces.
- Add water: Once it looks like sludge (see video), whisk in 1/2 – 1 cup of water until it becomes a gravy consistency to your taste. Adjust salt and pepper to taste – I rarely add extra salt.
- Strain gravy into a bowl, pressing juices out of the onion etc. Pour gravy into jug.
Serving:
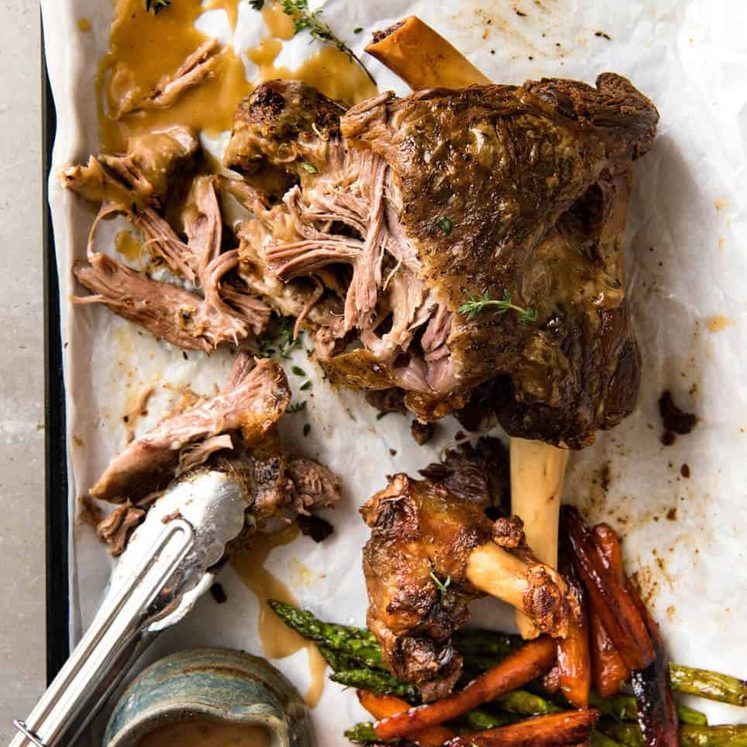
- The meat is tender so you will only need tongs to tear the meat off. Serve with gravy!
Recipe Notes:
 6. Gluten-free gravy – Skip the flour. Mix 2 1/2 tbsp cornflour/cornstarch with 3 tbsp water and use in place of the flour.
Servings – Allow ~350g/12 oz uncooked bone-in meat weight per person, so a 2.25kg /4.5 pound leg will serve ~6 people. I know this sounds like a lot of meat per person, but you lose more weight with slow cooked meats than roasting leg to blushing pink. plus the bone is sizeable and nobody can carve every scrap of meat off the bone. 🙂
Make-ahead – This is best served freshly made as leg is quite lean so it just isn’t as succulent when reheated. It stays warm for 1 hour so you needn’t worry about being 100% precise with cook timing. Leftovers will keep for 3 to 4 days in the fridge, or freezer for 3 months.
Nutrition per serving assuming 10 servings.
Nutrition – Calories in the nutrition are higher than actual because I do not know how to adjust for the fat that is skimmed off the liquid before making the gravy. I usually throw out about 1/3 cup which means the calories is probably closer to 500 calories per serving, and that’s assuming all the gravy is consumed.
6. Gluten-free gravy – Skip the flour. Mix 2 1/2 tbsp cornflour/cornstarch with 3 tbsp water and use in place of the flour.
Servings – Allow ~350g/12 oz uncooked bone-in meat weight per person, so a 2.25kg /4.5 pound leg will serve ~6 people. I know this sounds like a lot of meat per person, but you lose more weight with slow cooked meats than roasting leg to blushing pink. plus the bone is sizeable and nobody can carve every scrap of meat off the bone. 🙂
Make-ahead – This is best served freshly made as leg is quite lean so it just isn’t as succulent when reheated. It stays warm for 1 hour so you needn’t worry about being 100% precise with cook timing. Leftovers will keep for 3 to 4 days in the fridge, or freezer for 3 months.
Nutrition per serving assuming 10 servings.
Nutrition – Calories in the nutrition are higher than actual because I do not know how to adjust for the fat that is skimmed off the liquid before making the gravy. I usually throw out about 1/3 cup which means the calories is probably closer to 500 calories per serving, and that’s assuming all the gravy is consumed.Nutrition Information:
Originally published May 2017. Updated for housekeeping matters April 2020 and 2026 – no change to recipe!
More Roast Lamb Recipes
I love a good roast lamb – so I’ve shared a few over the years! Here are some of my favourites – or browse the whole recipe collection.
Best of Sunday Supper Roasts


Life of Dozer
The time I had ambitions for him to be the next Kleenex puppy…

Having always lived on a tight budget and lacking the confidence to cook a large piece of lamb, today i took the plunge. I was gifted a small leg of local lamb from a friend who has a farm. I followed your recipe and we’ve just finished a delicious, tender and tasty meal, with enough left over to make something else tomorrow. Thanks for sharing your passion for slow cooking meats.
Hi I have a half leg of lamb that is 1.5 kg do I cook it for the same time or for less. Also if I have a fan forced oven is it still 170 degrees?
Hi Lenora, just use the 2kg cook times in the recipe notes – this is a very forgiving recipe so you can’t really go wrong. As per step 1, Preheat oven to 170C/335F (standard) or 150C/300F (fan/convection). Love to know how it goes! – N x
Is there anything special you would serve this with?
Hi Doreen, roast potatoes, salads, roast broccoli, parmesan cauliflower – the possibilities are endless ☺️
I have a roast that is 5lbs but no bone. Can I still use this recipe?
Hi Natalie, what cut of lamb is it?
It is the leg
I’ve got 2 1.7kg lamb legs, how long should I cook them for ?
Thank you
Hi Tamara, for the first step of roasting I’d cook them both for 4 hours ❤️
I used your recipe and the lamb was beyond delicious. thank you so much. really amazing am roasting yet another leg of lamb 😊
I’m so glad you loved it!!!
Followed your recipe to the letter wonderful many thanks.
Made this today for lunch. Perfection! Thanks for another great recipe.
You’re so welcome Carolyn, I’m so glad you loved it!
I haven’t roasted lamb in a number of years, but I found your recipe, which was exactly what I wanted – slow cooked, falling off the bone. I used a leg of lamb and it worked out perfectly! Everyone raved and the gravy was a total winner too. This is definitely the only way I’ll cook a roast lamb from now on. Thank you for a winner recipe!
You’re so welcome Bec, I love this recipe as it’s so forgiving and so easy!
Absolute delish! Easy to make due to your Simple to follow instructions. My new go to Lamb leg recipe.
Awesome to hear Paul!
How long would I cook if I had 2 half legs instead of a whole?
Thanks
Hi Jen, what weight are they?
Hello Nagi. Just a comment on making gravy for the roast lamb, I often boil peas when I do a roast. Cook the peas with a pinch of salt and sugar, and when done, use the liquid to make your gravy instead of just water. Makes it even better. The lamb we’re having tonight was raised here on the farm. Makes it even better. Jay
I’ve never tried that before Jay, was a great idea!
Oh, dear, I just put this in the oven using a boneless leg of lamb, but I didn’t remove the netting. I’m hoping it works okay. Will let you know…
Hi Marilyn, sorry for the delayed reply – how did you go with this?
I want to achieve exactly what you have in the picture: soft and juicy lamb meat! Does the material of the pan make a difference? I don’t have a metal pan but do have a few others: a glass (pyrex) pan, a a thick cast-metal skillet with flat bottom and also one with indentations to catch juices. Also, I purchased a boneless leg of lamb, do I need to remove the netting prior to putting it in the oven? Thank you!!!
Hi Janet, the vessel shouldn’t matter too much, as long as the meat is slow cooked until falling apart & remove the netting before cooking
Nagi, Thank you SO very much for your reply and advice! Thanks to you, my first-ever boneless leg of lamb (and first roast ever) came out de-li-cious! I set it up on a dark metal pan (to follow your recipe & method as much as possible). Since the pan was so much bigger than the piece of meat, and afraid that having removed the netting the meat was going to spread all over, I doubled-up on the onion, garlic and roesmaray to make a semi-compact bed that raised the meat entirely. By the way, thank goodness you told me to remove the netting: it was made of 50% natural fiber cooking twine and 50% plastic elastic (!!!) which, on second thought, makes sense to remove as the plastic is harmful for our bodies. Along those lines, my husband didn’t want me to cover it with Aluminum foil as he saw a documentary that indicates it releases toxins into the covered food, he wanted me to get creative and cover it with something like a glass top or a metal top but I couldn’t find something that would allow for the the steam-sauna effect so I held my ground, covered it with aluminum foil and off it went into the oven. We were expecting about 4.5 hours before the browning, but something funny happened. I had set the timer for 3.5 hours to check in on the level of “done-ness” (again, overly cautious) and from the thermometer reading ( which I’m grateful you wisely advocate for and thus my purchase of an oven-safe thermometer) it seemed like it was done. I was puzzled as to why it would be a full one hour earlier than the 4.5 you indicate, when I realized that there were two variables: one, the picture at the top reads “4.5 hrs at 325F” but I had set my oven according to the Instruction #1 that says 335F for a standard oven. Since my husband had discarded the packaging days earlier, we didn’t know for sure the exact weight, so we were “guesstimating” when to insert the thermometer (Unless you stick it in and leave it inside the whole process?) Another factor that I think played a role in the shorter cooking time was that this was a boneless cut, and perhaps when it is bone-in, it might take longer. All in all, it was a memorable meal, we were so happy and satisfied! Having come from the corporate world (like you) but unlike you, not knowing a thing about cooking, this recipe gave me a great sense of accomplishment and enjoyment. Thank you so much for making it possible. I will be visiting your blog on a periodic basis to try more recipes. God bless you! xoxo
Thanks so much for taking the time to give me some feedback, this makes me so happy to read! Sounds like you absolutely perfected the lamb!! ❤️
If you use a boneless leg of lamb how long would you cook it for?
Hi Rick, depends on the size – what size are you using? You can’t really go wrong or overcook it here, you want to cook it until it’s falling apart.
Tried this today and ….. OMG!!!! The most amazing lamb i have ever tasted in my life…. the liquid was to much though so i had to get rid of about half of it but amazing. It was well worth the wait of all thwm hours cooking. Would this work with beef and pork aswell?
I’m so happy you love id Davina, You could try it with beef. I have some amazing slow cooked pork recipes on my site as well which might be a better fit – N x
Does the foil have to be completely tight?
Just covered and as tight as you can, but it doesn’t have to be completely tight ☺️
Hello I dont have beef broth can I leave this out?
You need the beef broth in this – and it is also what makes up the gravy. Do you have stock cubes that you can make up the stock with?
Having never cooked a leg of lamb before I was a bit nervous but this recipe is an absolute winner.
It’s incredibly easy and the results are super tasty, so much so that everyone had seconds and there’s no lamb left. Thank you for sharing
I just cooked this today and it was perfect…thank you